How To Create a Product in the Quadra AppUpdated 6 months ago
Start by selecting the New Product button located at the top of the screen. You will arrive at a catalog of available products. Use the category panel on the left side of the screen to browse the product catalog.
A-1
note: on your screen the "New Product" button will be on the right side of the screen
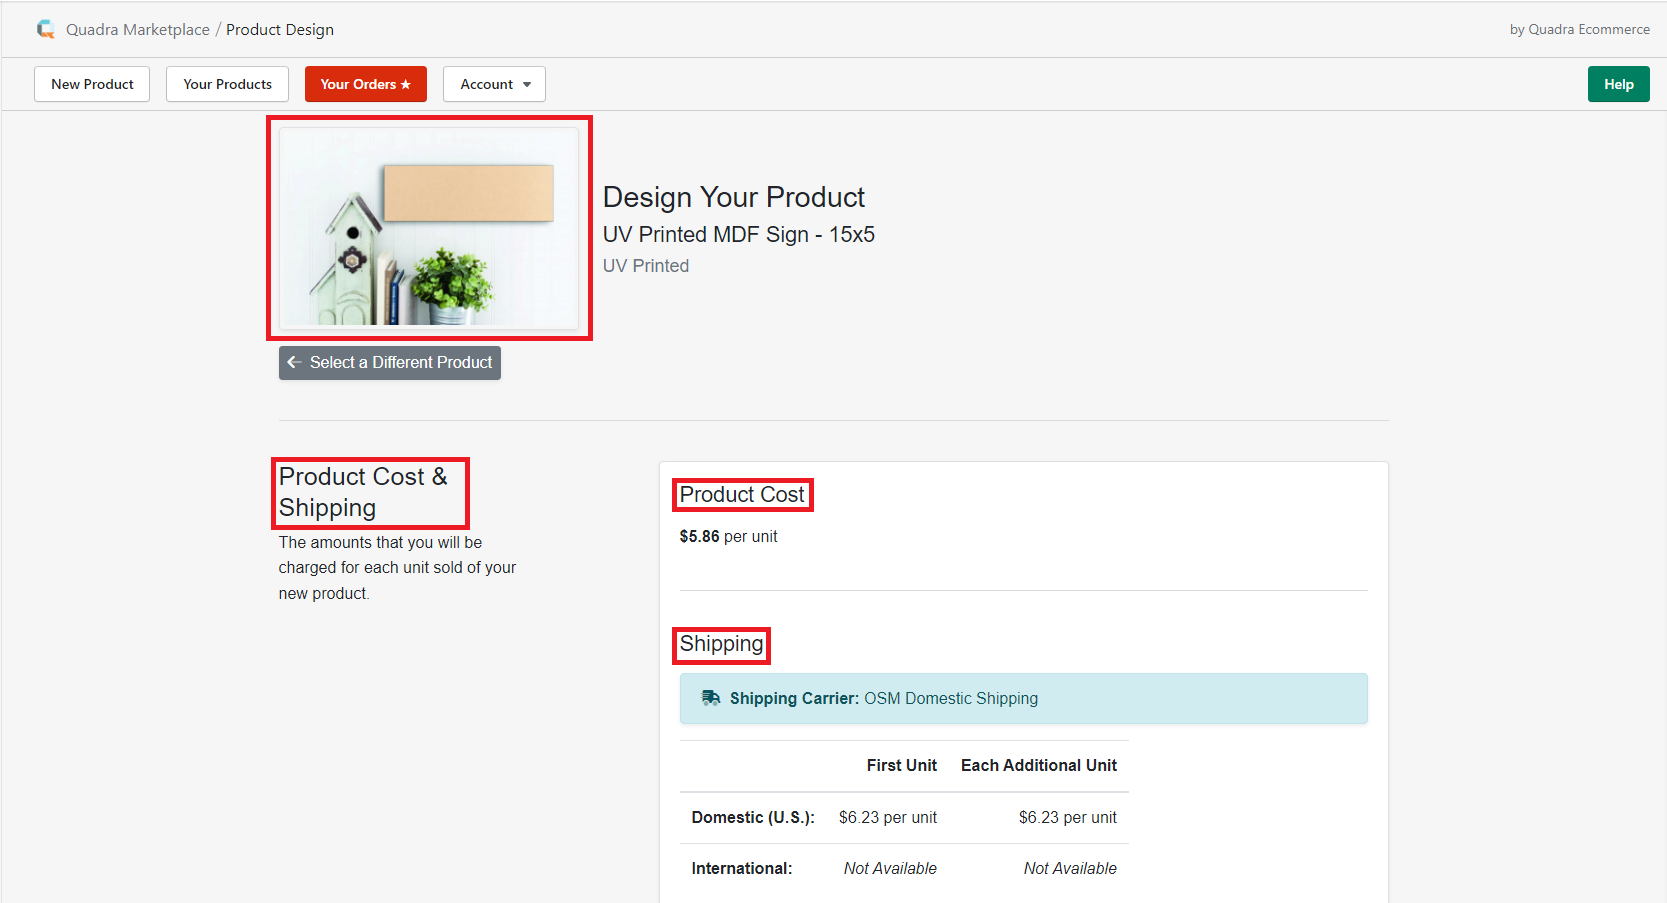
For our example, we are going to be creating a UV printed MDF sign. To locate the product, select the Wall Art category and then scroll down until you see the "UV Printed MDF Sign - 15x5" product. Clicking on the product will take you to the product design page. The first thing you'll see is a sample photo of the product, which in our case is the sign.
The first section of this page is labeled Product Cost & Shipping. This section will explain the details of the product, the base costs, as well as any shipping information you may need.
 A-2
A-2
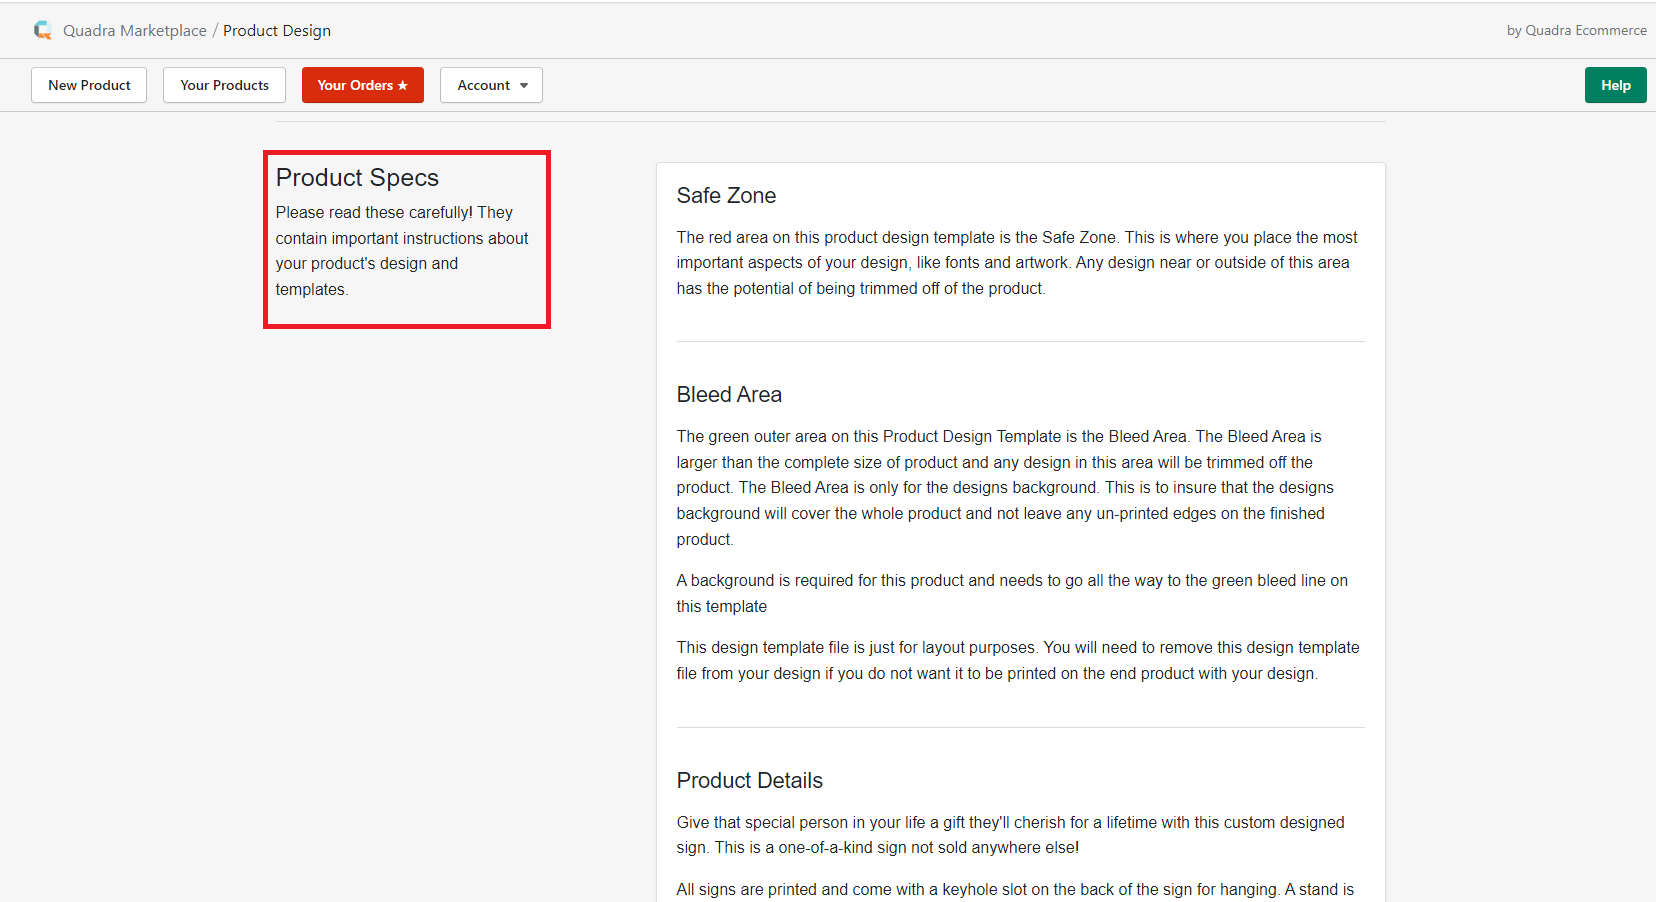
If you scroll down, you'll find the next section: Product Specs. In this section, you will be given detailed instructions regarding the specs and dimensions your product design will need to follow in order to successfully print on the finished product.
 A-3
A-3
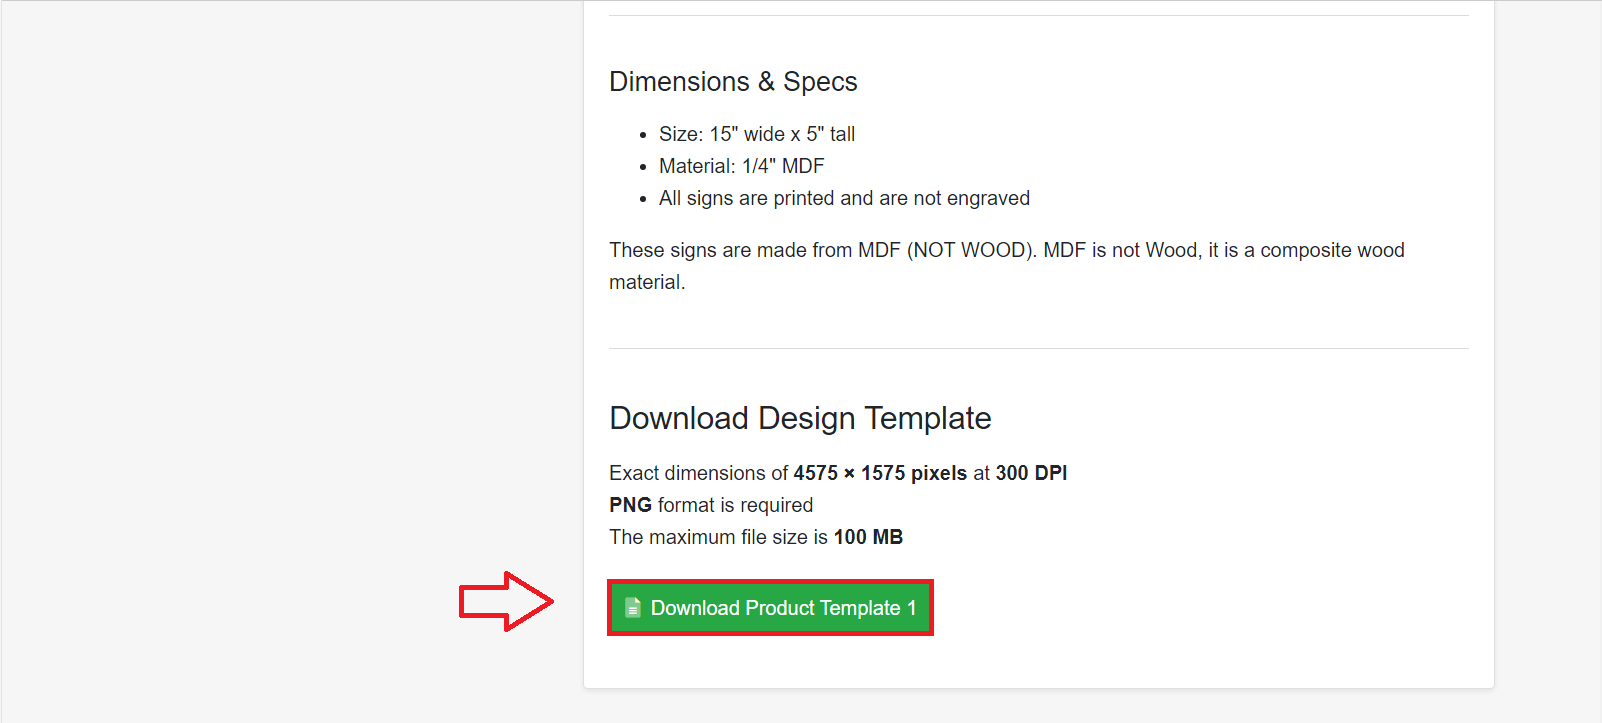
At the bottom of this section, you will find a green button labeled Download Product Template. Click on this button to download a template for this product. You can use this template as a reference, in whatever designing software you are using.
Note: There may be more than one template available for you to download.
 A-4
A-4
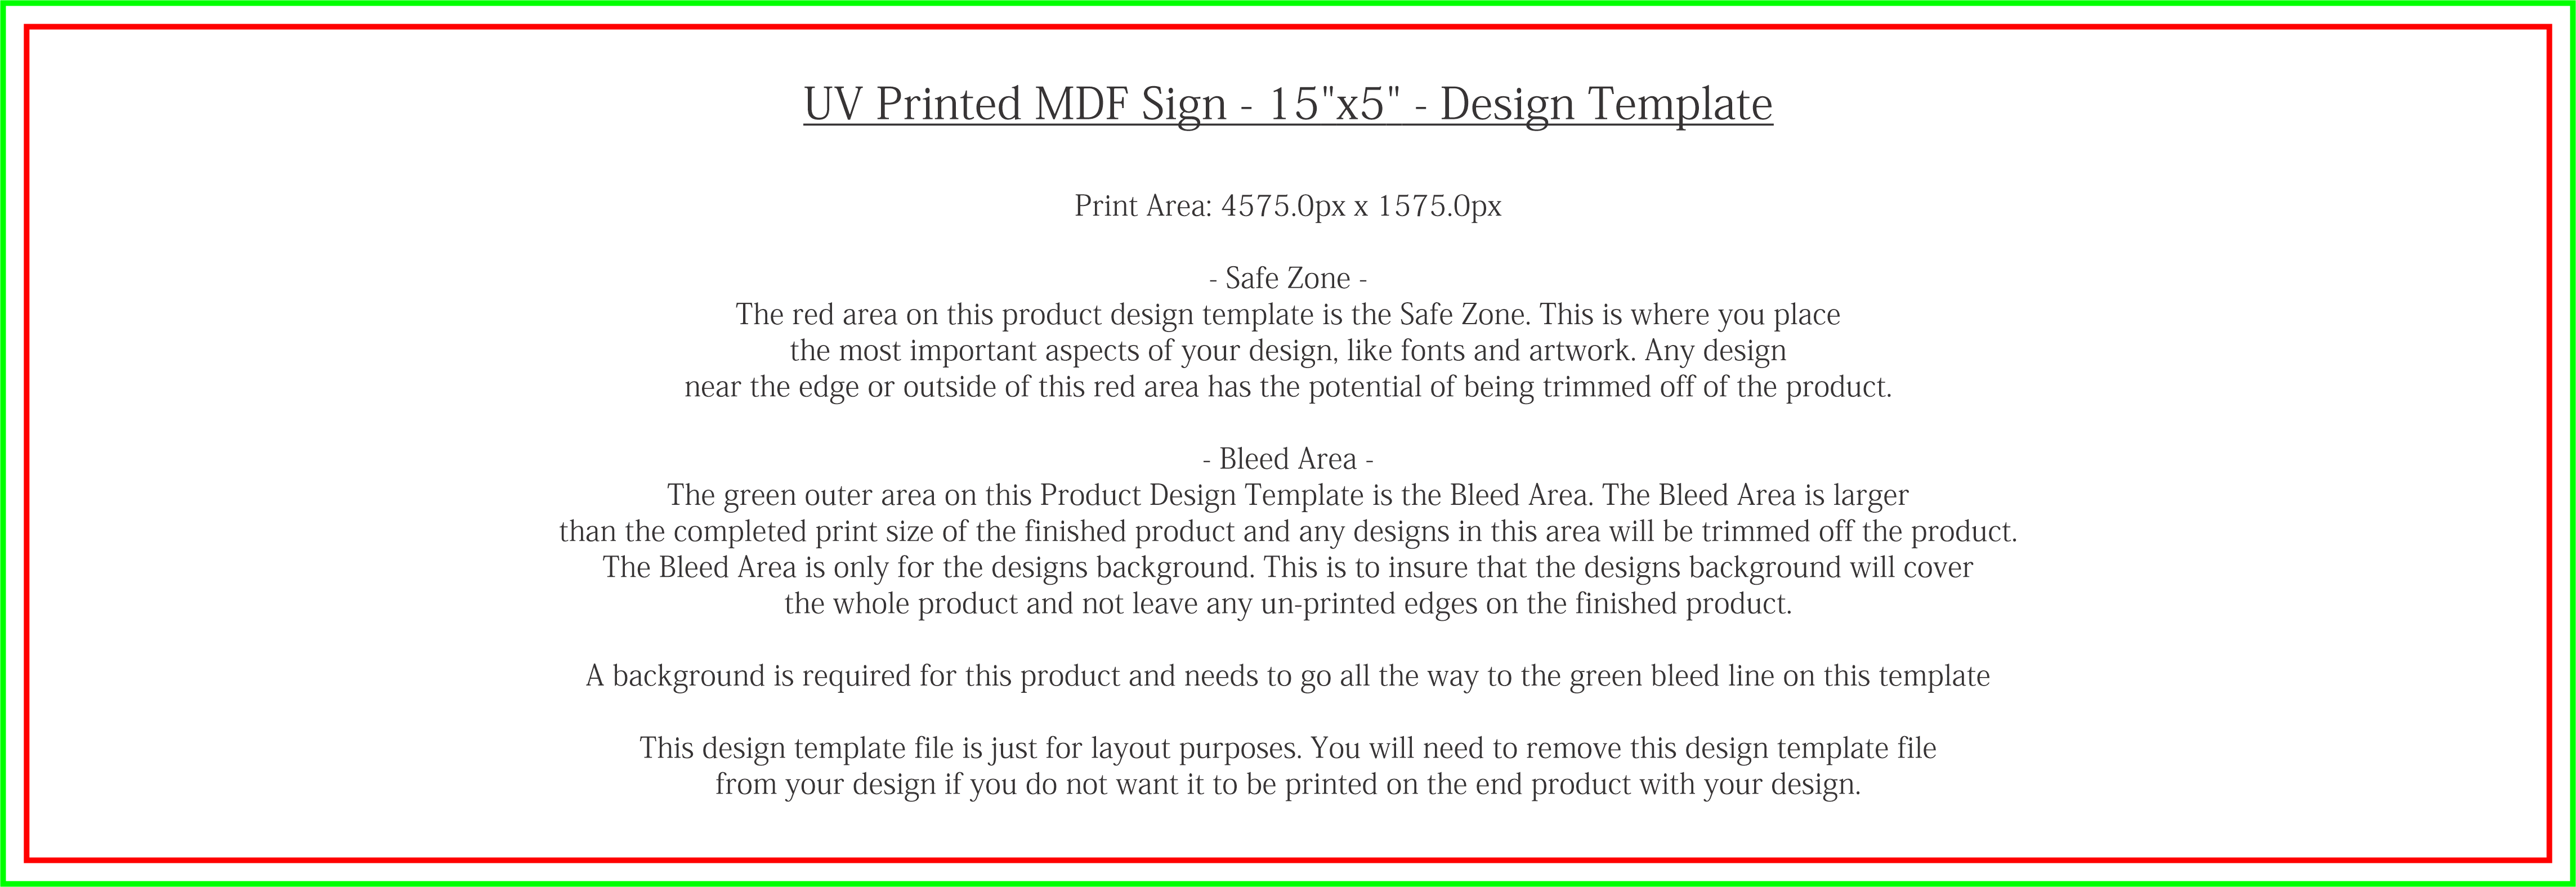
Below is the product template for the UV Printed MDF Sign. Each product on our app will have a template that is similar to this. For your reference we have included general descriptions of the Safe Zone and Bleed Area on each template. The Safe Zone is contained within the red area and the Bleed Area is indicated by the green area.
 A-5
A-5
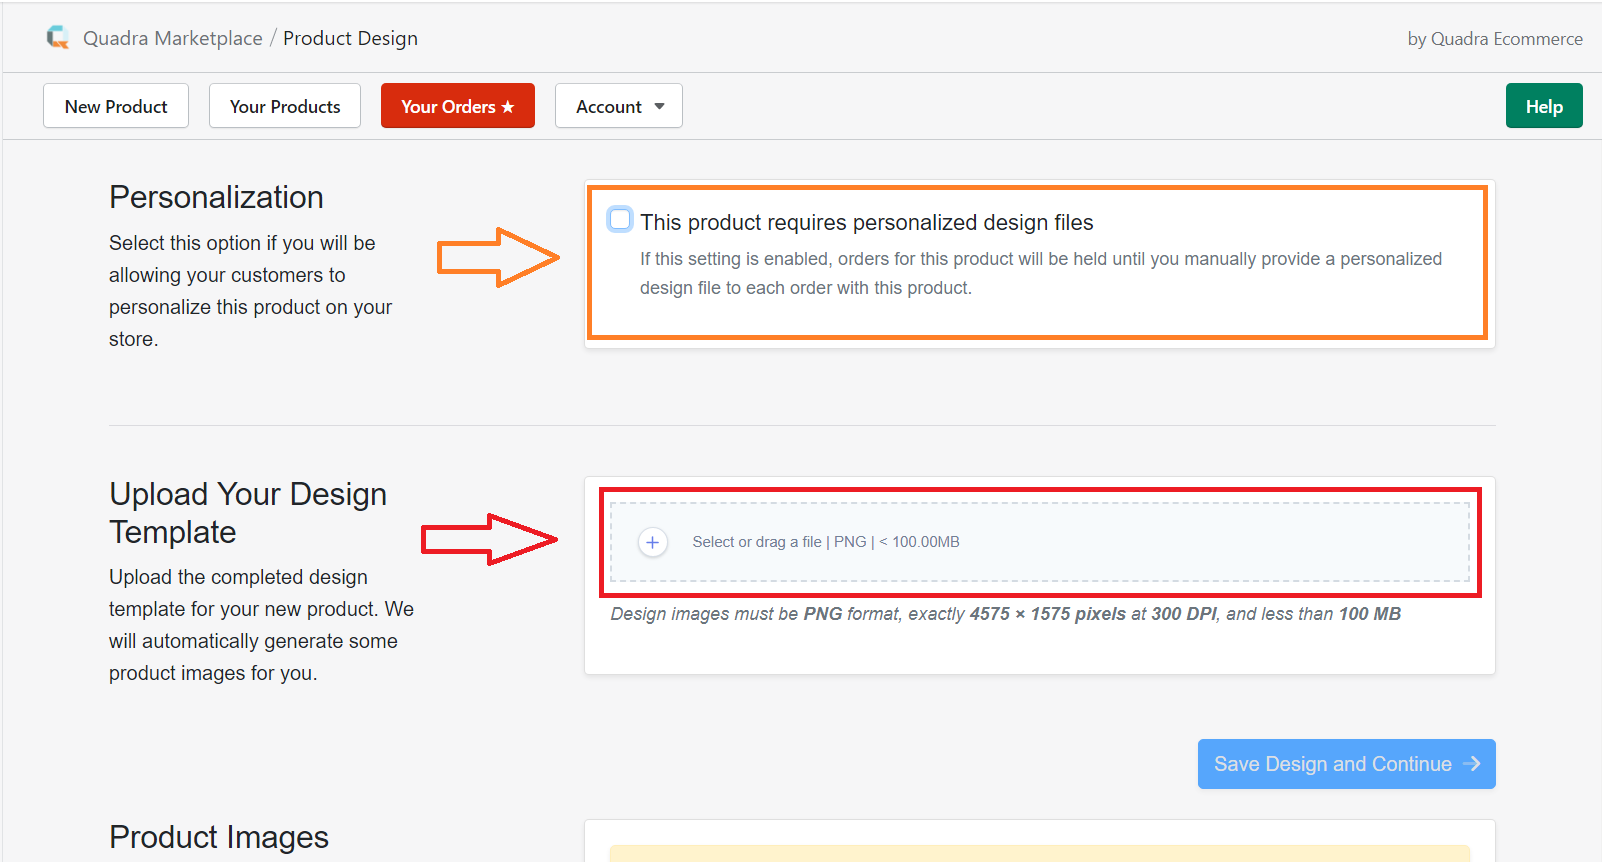
The next section is titled: Personalization and highlighted in orange in the photo below. Personalization is an optional feature you may choose to incorporate into your design. Do not select this feature if your design is not personalized. This tutorial will not be covering the specifics of personalization. If you would like to learn more about personalization please check out our tutorial titled: How to Create a Personalized Product in the Quadra App.
The next section is titled, Upload Your Design Template highlighted in red in the photo below. This is the location where you will upload your product design. After you have uploaded your design to this section mockups of your design will automatically be generated. The mockups will be displayed in the Product Images section when they have completed generating.
 A-6
A-6
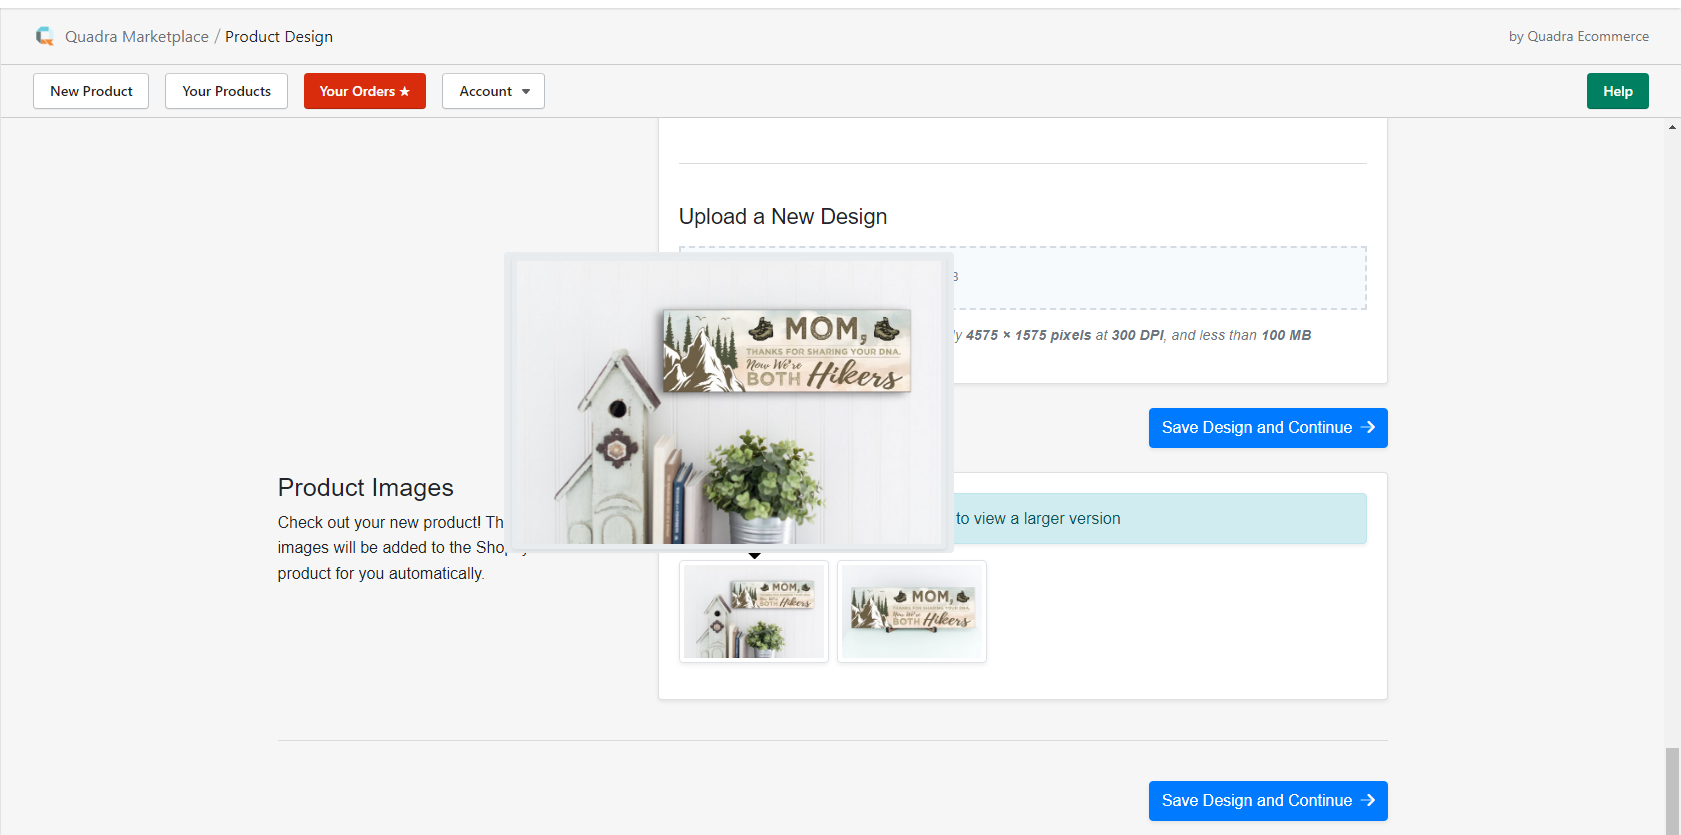
In the Product Images section, you can enlarge the mockups by hovering over the image with your mouse. These product images will show you how your design will look on the finished product. Look over the images to ensure your design will look correct on the finished product. If your design does not look correct, you will need to update your design to fit the correct specs on the product design template.
 A-7
A-7
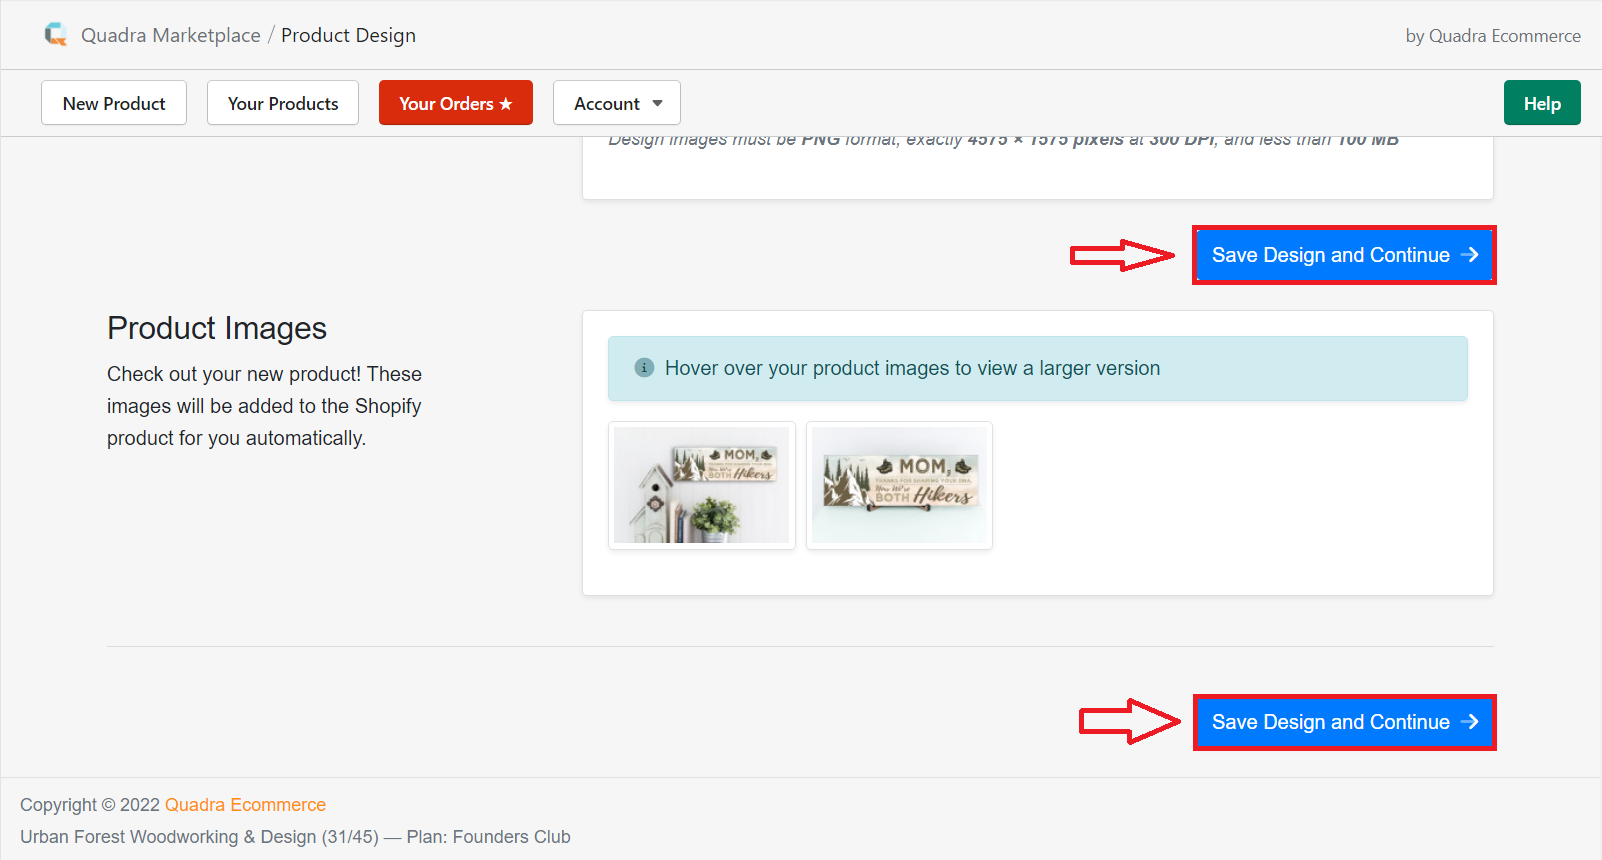
After verifying that the product looks the way you envisioned, click the Save Design and Continue button.
 A-8
A-8
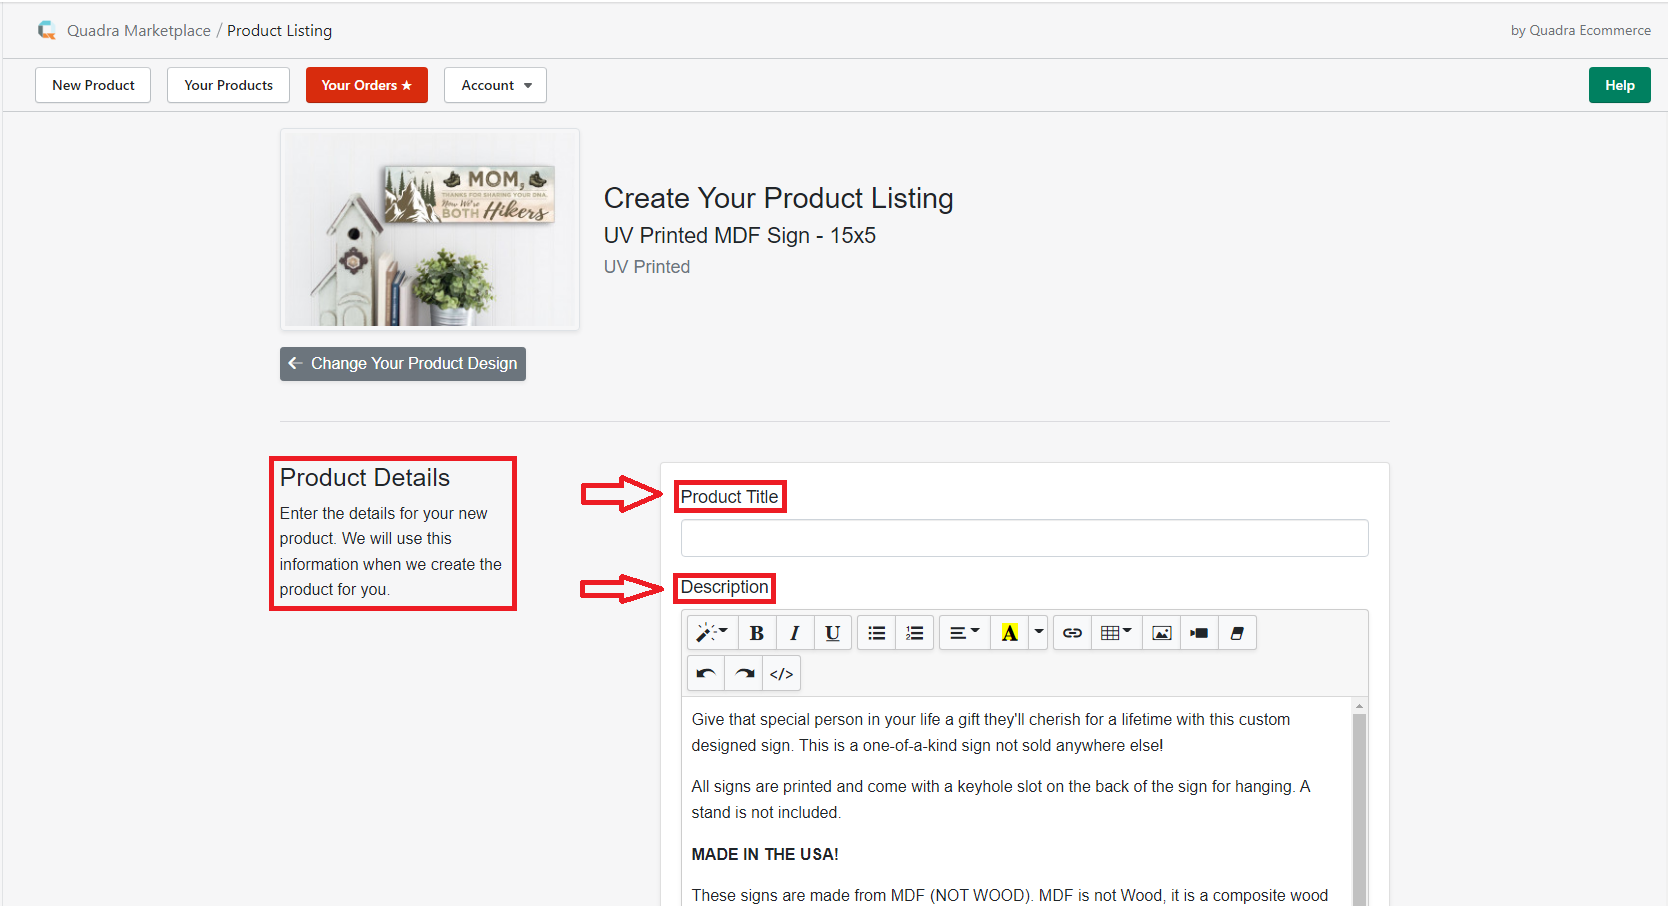
Clicking the Save Design and Continue button will take you to the product listing page. The first section on this page is titled: Product Details. This section provides a place for you to include a product title and a description of your product. We have provided a generic description of the product for you but you may want to edit it so it reads however you like. We recommend that you do not change the product specs in the product description - doing so could mislead your customers.
 A-9
A-9
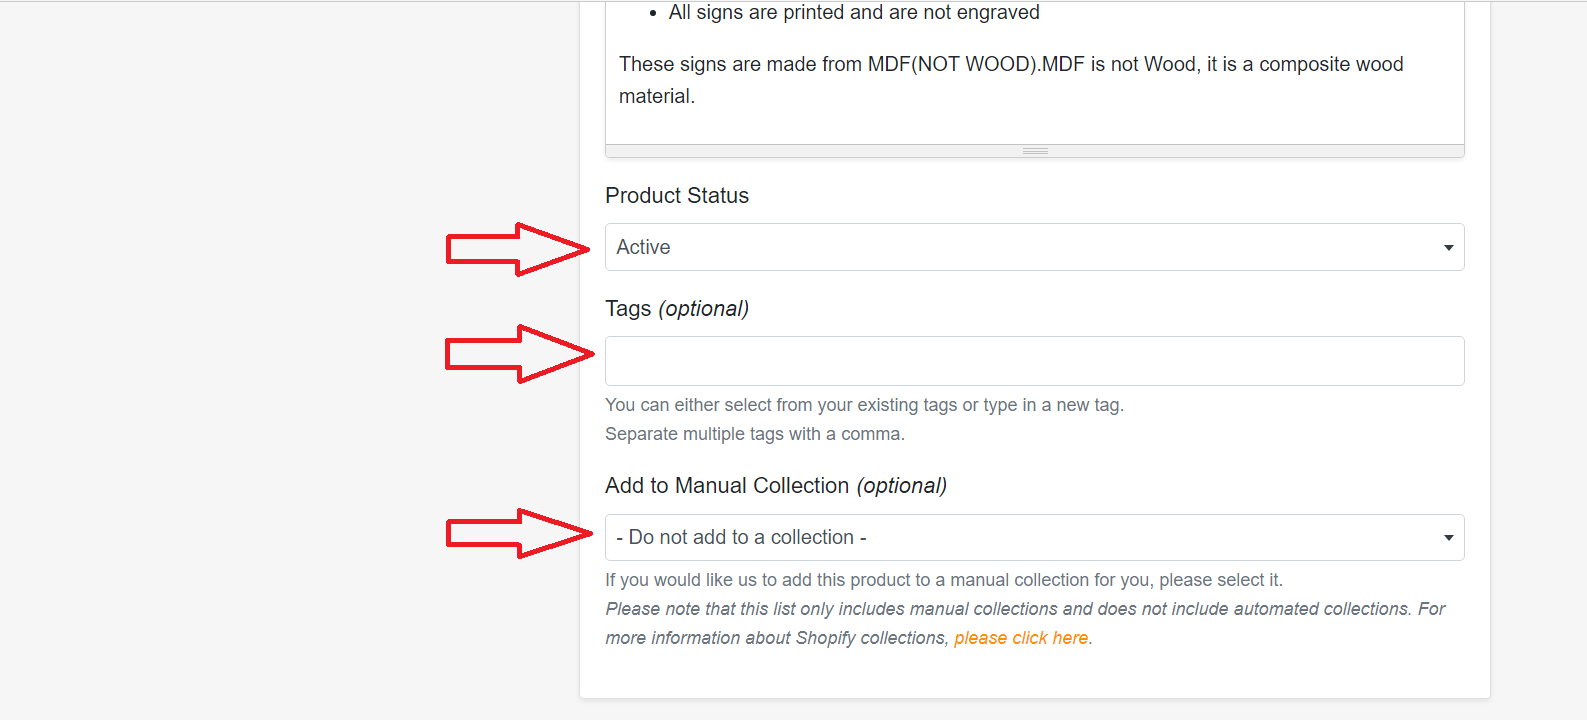
Also included in the Product Details section is an option to change the status of the product on your Shopify store. Below this section, you have the option to add any tags you would like to apply to your product. Under this section is an area where you can choose to add your product to a collection on your Shopify store.
 A-10
A-10
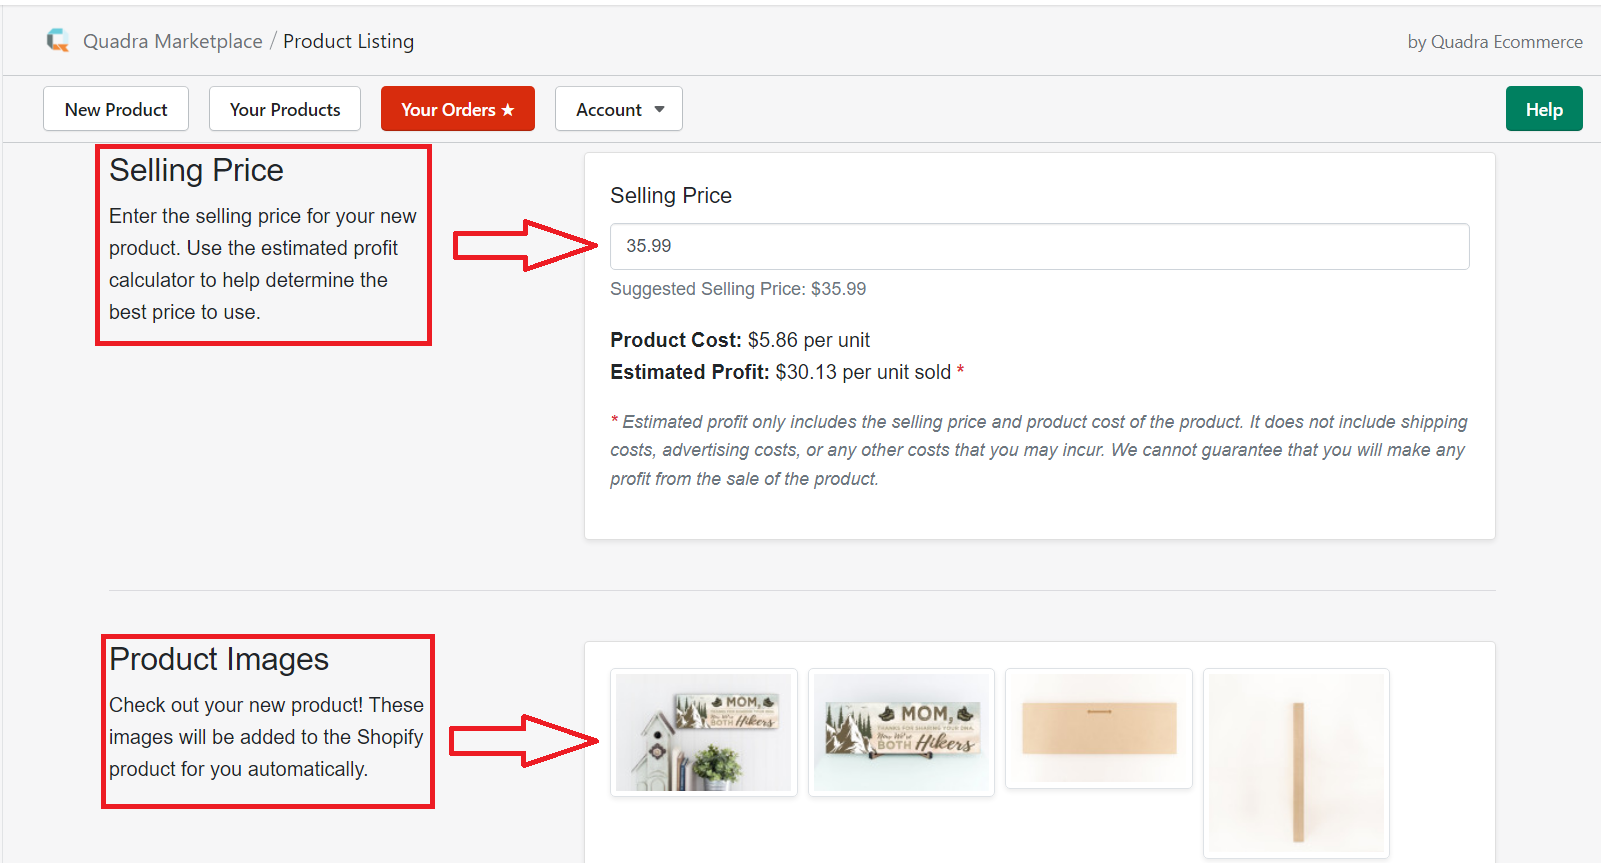
The next section, Product Selling Price will give you an area to input your selling price. Be sure to take into account our product pricing as well as any applicable shipping costs for the product. We have a built-in profit calculator that will approximate your profit from the sale. Please note that the calculator will not account for shipping costs or any other costs you may incur (e.g. marketing costs).
Below the Selling Price section is the Product Images section, which shows the final product images. These are the images that your customers will see when they view your product. The mockups from the previous page will be included as well as any other relevant images.
 A-11
A-11
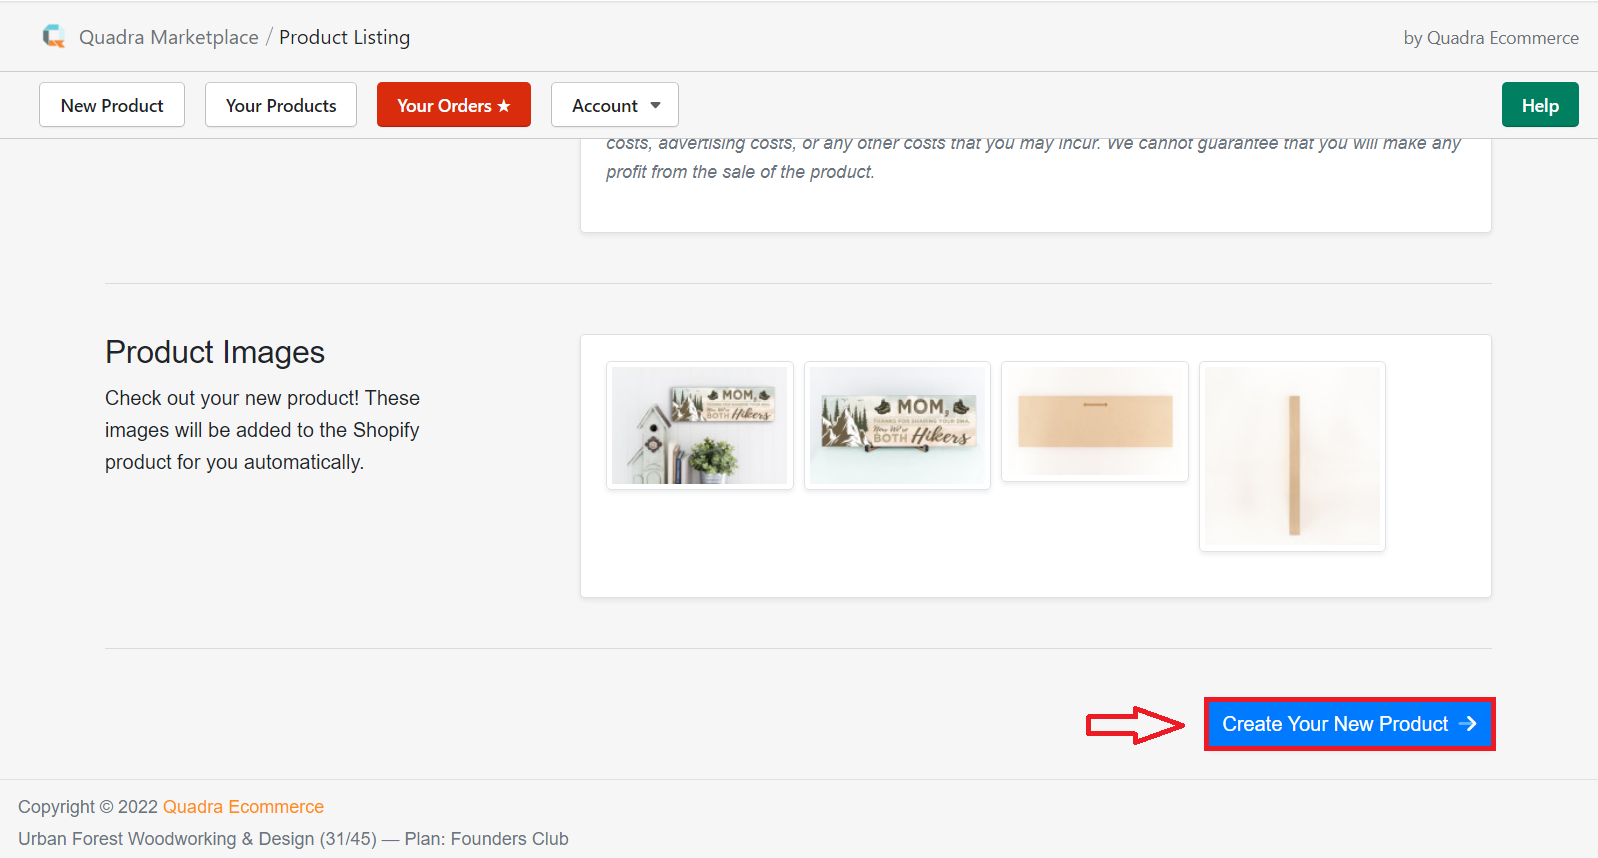
Once you have verified your product listing, click the Create Your New Product button and your product will automatically be added to your store.
 A-12
A-12
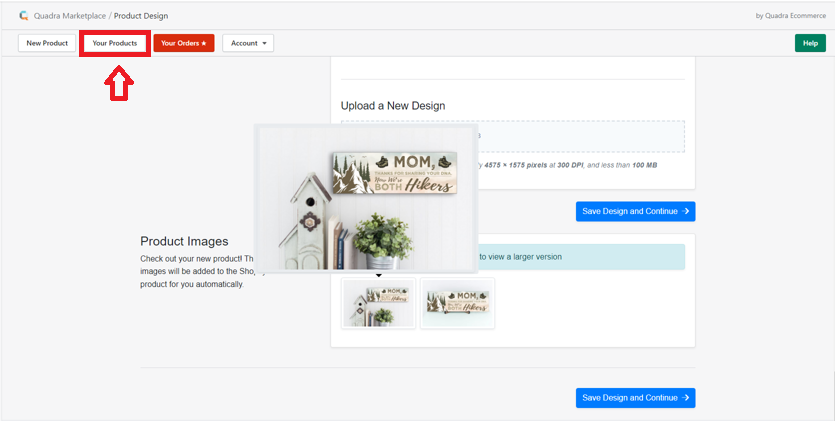
If you ever need to view the details of your product, click the Your Products button in the navigation menu and locate your product.
 A-13
A-13
Haven’t created your Shopify store yet? Click Here to get your store set up now!
Not yet a Quadra Pro subscriber? We have a FREE masterclass that will teach you Print On Demand basics and a special offer included at the end. Click Here to sign up today!
Interested in a database of POD ready designs? We recommend using Creative Fabrica for thousands of designs, images, and fonts. All come with a sales license. Click Here to check them out!