Screen Printing and How it WorksUpdated 12 days ago
Image Credit: indiamart.com
Printing Categories used for Quadra Products
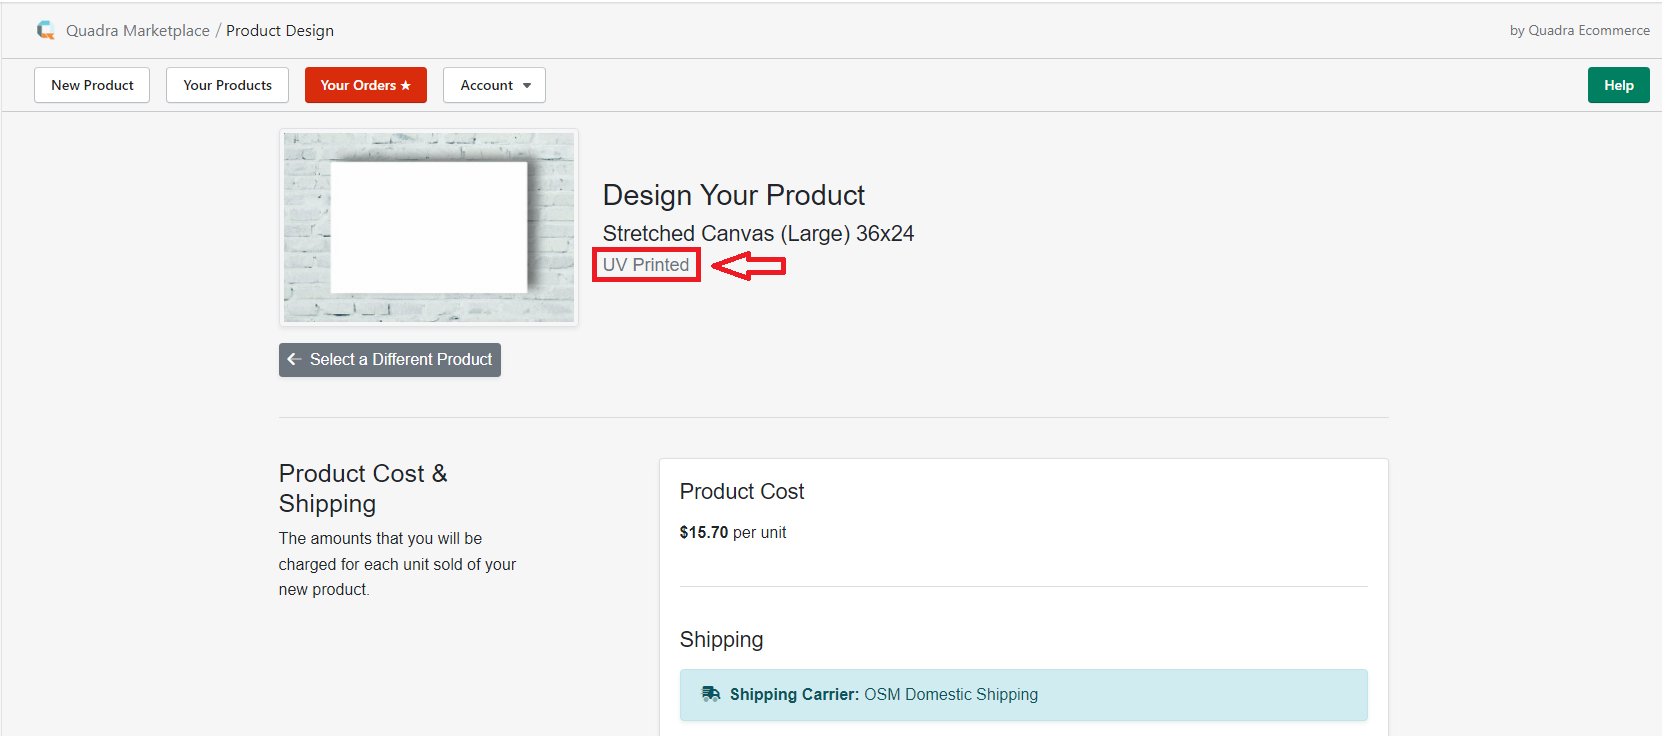
All the Products in the Quadra App's catalog have different styles of printing. If you would like to see what type of printing will be used on the product you would like to launch, first select the product from the product catalog. Selecting the product will bring you to the product details page. Located under the product name is the print type. Image A-2 shows an example.
All the printing is done automatically for you and there is no way to change print styles on each product, but if you would like to know more about the way your products will be printed we invite you to read our articles regarding the different printing processes. This article will cover screen printing.
 A-2
A-2
What is Screen Printing?
Screen printing is a process of printing designs onto fabric garments where a screen is used to print one layer onto the material at a time. While screen printing can be used to print designs onto other materials, such as wood and paper, it is most commonly used on fabric. The process uses screens to paint one layer per color of the design onto the garment at a time. This works by pushing ink through the screen and onto the material you are screen printing on. More modern printing technologies, such as direct to garment printing, can print the designs with greater detail. However, DTG printing takes longer to print in bulk than screen printing does. For this reason screen printing is a great option for bulk orders.
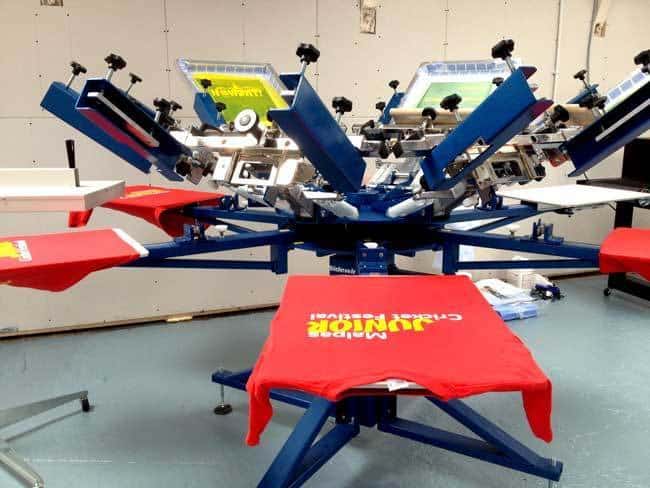
Image Credit: blogs.alphagraphics.com
A-3How does Screen Printing work?
The first step in screen printing is to create your design. If you would like your design to contain more than just one color then you need to be sure and create a separate layer for each color. Complex multicolor designs are possible using screen printing but do take more time to create, especially on the front end.
Once your design is ready the screens being used are layered with a photosensitive coating in a dark room. Then the design is placed on top of the screen and developed onto it. This creates a photoemulsion layer that covers the entire screen except where the design is. This makes it so that when you push the ink through the screen the ink only goes through the correct areas. One screen is made in this fashion for each colored layer of the design. After the design has been exposed onto the screen you wash away the photosensitive coating using cold water. When the coating is completely washed away you let the screen dry in the sun or under a ultra violet light. The drying can take several hours.
When the screens are finished drying you are ready to start printing. Image A-4 diagrams the way it works. As shown, the logo on the screen is the only part of the screen that is not covered, allowing for the ink to be pressed through the screen and onto the paper, noted by the label printed image. It is important to note that the screen needs to be loaded with a fresh layer of ink after each use. This is done by lifting the screen a few inches and using the squeegee to gently push the ink so it covers the entire screen. The preloaded screen is then ready to place back down on the next material and the squeegee is used again, this time with substantial force, to push the ink across and through the screen. The process is repeated until all the materials have been printed on.
 Image Credit: heatpresshangout.com
A-4Once the first layer of the design is printed the material is moved from the first screen to the second and the process is repeated until all the layers of color are on the material. Image A-3 above shows an example of a machine that is used to print each layer with ease. Depending on the machine, the process can be done by hand or completely automatically.
If you would like to see screen printing in action check out these videos!
This first video shows how a four color logo can be screen printed onto a shirt. The process is done by hand but machine operated processes are available for larger scale operations.
Video Credit: rite on screen studio
If you are interested in learning the difference between screen printing and direct to garment printing, check out this video to briefly learn about each process.
If you only want to see how screen printing works using an automated machine process skip forward to 2:07 in the video.
Video Credit: BELLA+CANVAS
Haven’t created your Shopify store yet? Click Here to get your store set up now!
Not yet a Quadra Pro subscriber? We have a FREE masterclass that will teach you Print On Demand basics and a special offer included at the end. Click Here to sign up today!
Interested in a database of POD ready designs? We recommend using Creative Fabrica for thousands of designs, images, and fonts. All come with a sales license. Click Here to check them out!

